A gallery rail is a simple way to make an existing floating shelf feel safer and more finished. If you love the look of your shelves but worry about books, bottles, framed art, or dinnerware sliding forward, a brass rail can add a helpful front-edge barrier without changing the character of the room.
We often see a clear before-and-after difference. Before, a beautiful shelf may need constant straightening, especially when items sit close to the edge. After a DIY gallery rail installation, the same shelf can hold a more secure, tailored display with a warm brass detail that feels collected rather than fussy.
Turn Existing Shelves Into Safer Displays
Adding a gallery rail to a floating shelf is often more approachable than replacing the entire shelf. The rail creates a physical stop near the front edge, helping keep everyday pieces from shifting forward when a door closes, someone brushes past, or a cookbook is pulled from the stack.
A rail does not increase the structural weight capacity of your shelf. It is there to help prevent objects from sliding off the front, not to turn a lightly mounted shelf into heavy-duty storage. That distinction matters most in kitchens, bars, and dining spaces where glassware, ceramic pieces, bottles, and serving dishes may be displayed.
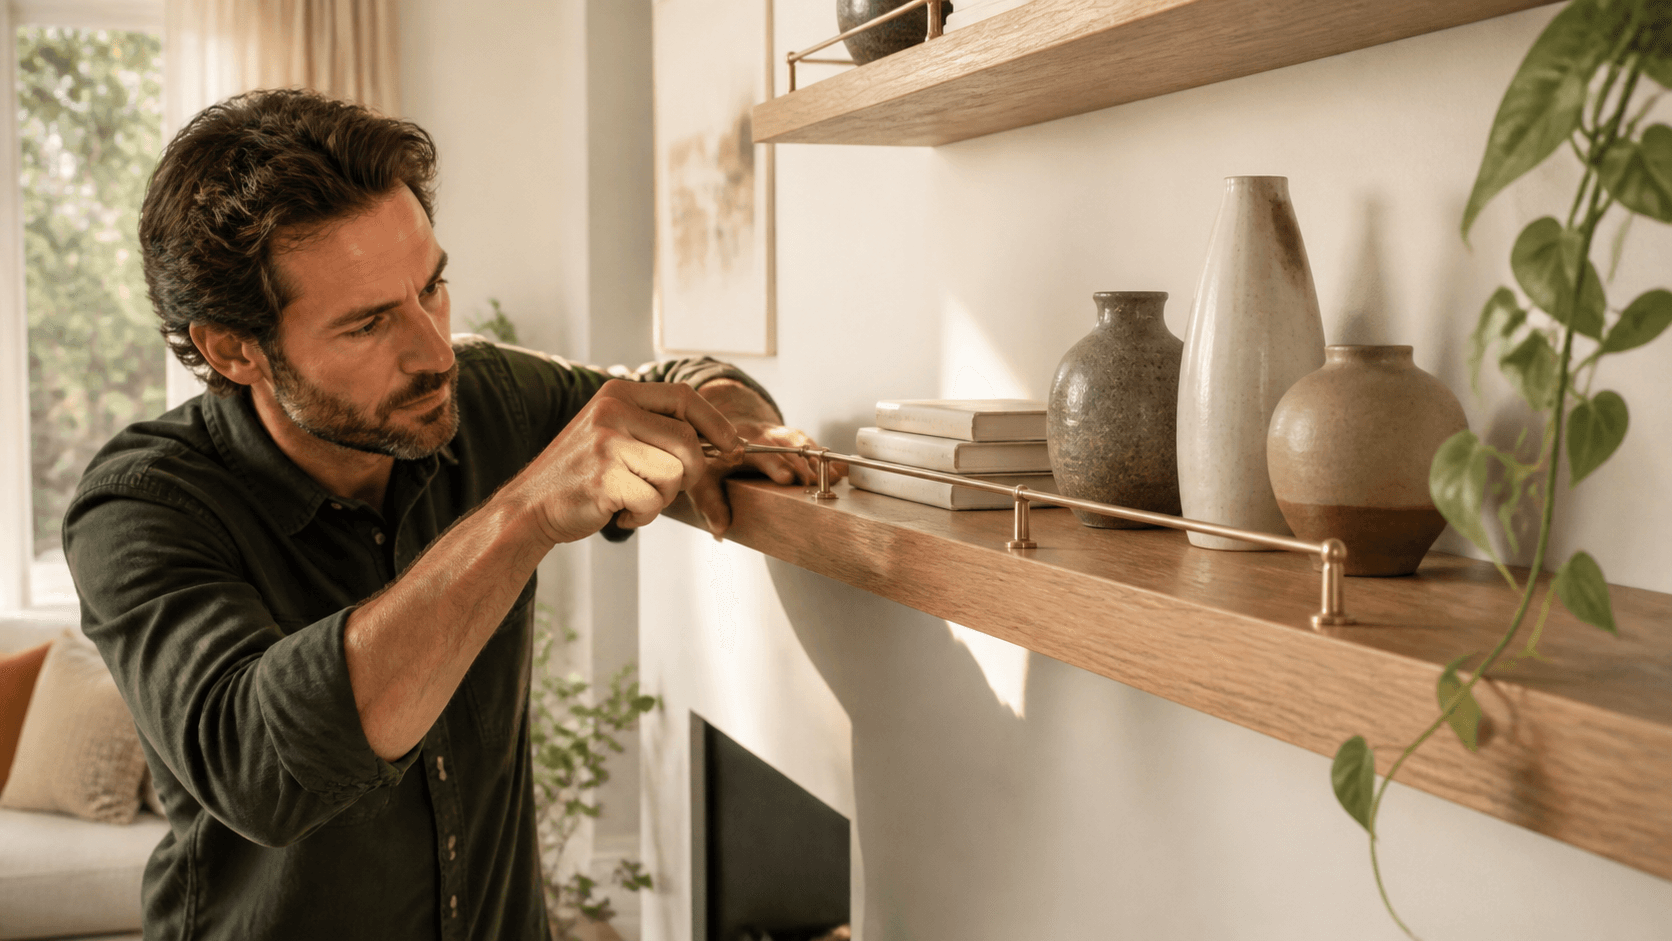
Our unlacquered brass gallery rail kit is made to order for solid hardwood shelves. Because the brass is unlacquered, it develops a living finish over time. It may darken, soften, or show gentle marks from use, creating character that feels right at home beside real wood and heirloom-quality craftsmanship.
Choose a Rail Kit That Fits Your Shelf
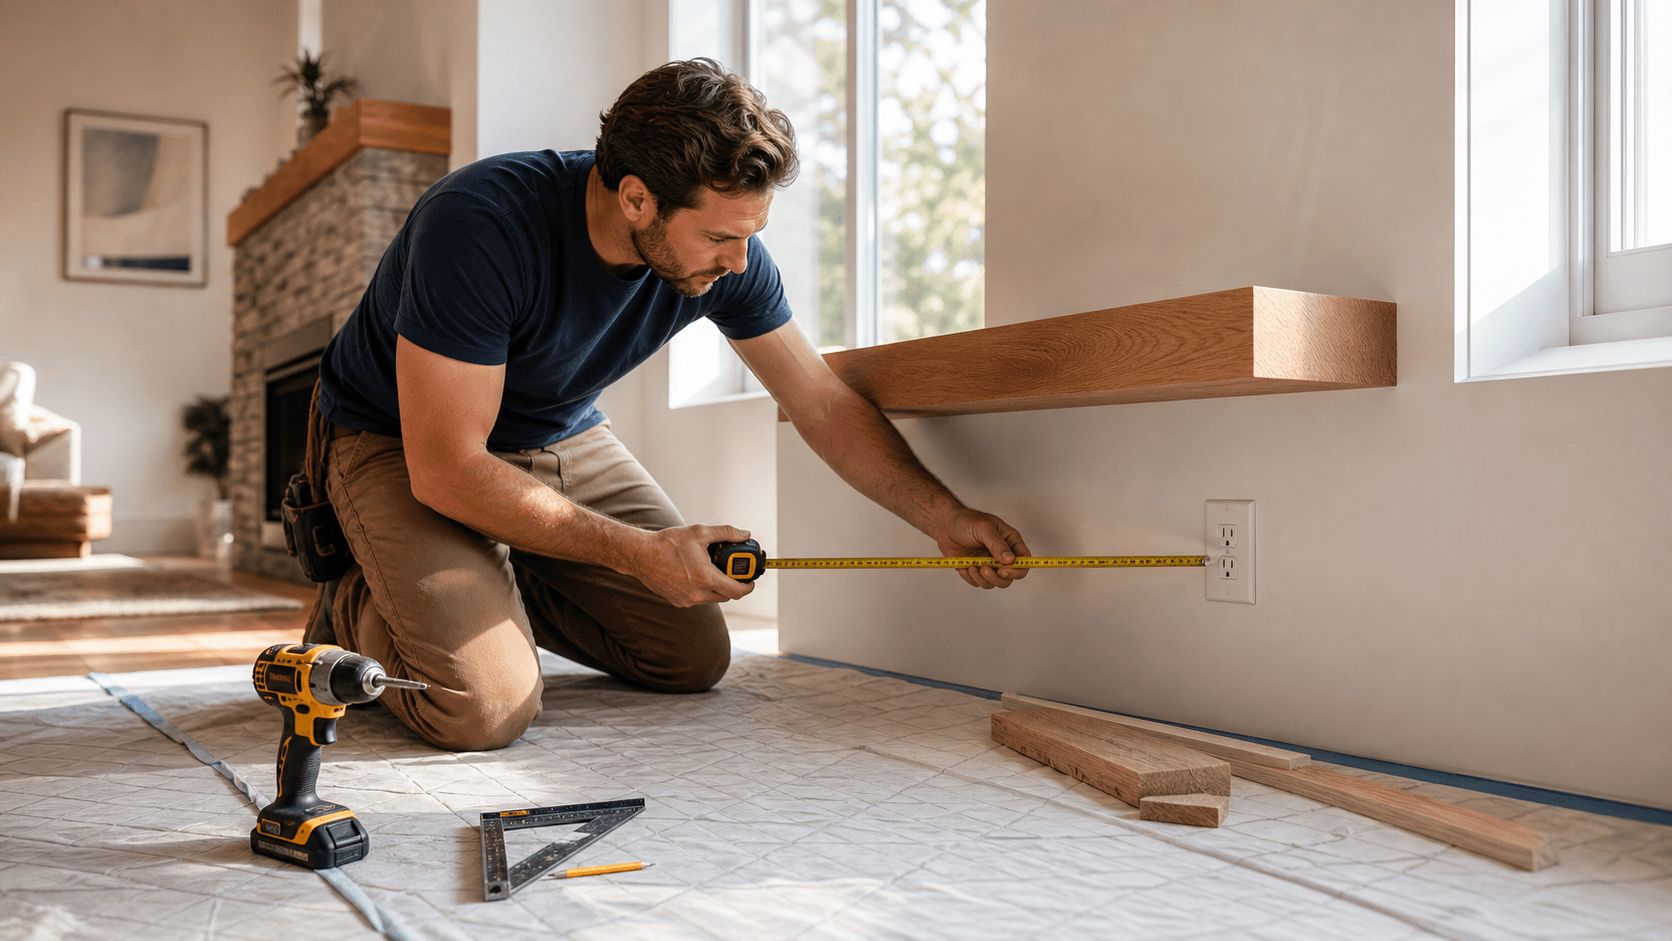
Good measurements make a gallery rail installation on a floating shelf look intentional. Before ordering a floating shelf rail kit, take time to measure the part of the shelf that is actually usable, not just the full board width.
Check these details before choosing your rail:
- Usable shelf width between walls, trim, or nearby objects
- Shelf depth and the amount of room available at the front edge
- Rail height, based on the items you plan to display
- Clearance for cabinet doors, artwork, or objects you handle often
Measure twice, then think through where your hands will naturally reach. A rail that sits too close to a cabinet door or blocks access to a favorite serving bowl can become frustrating quickly.
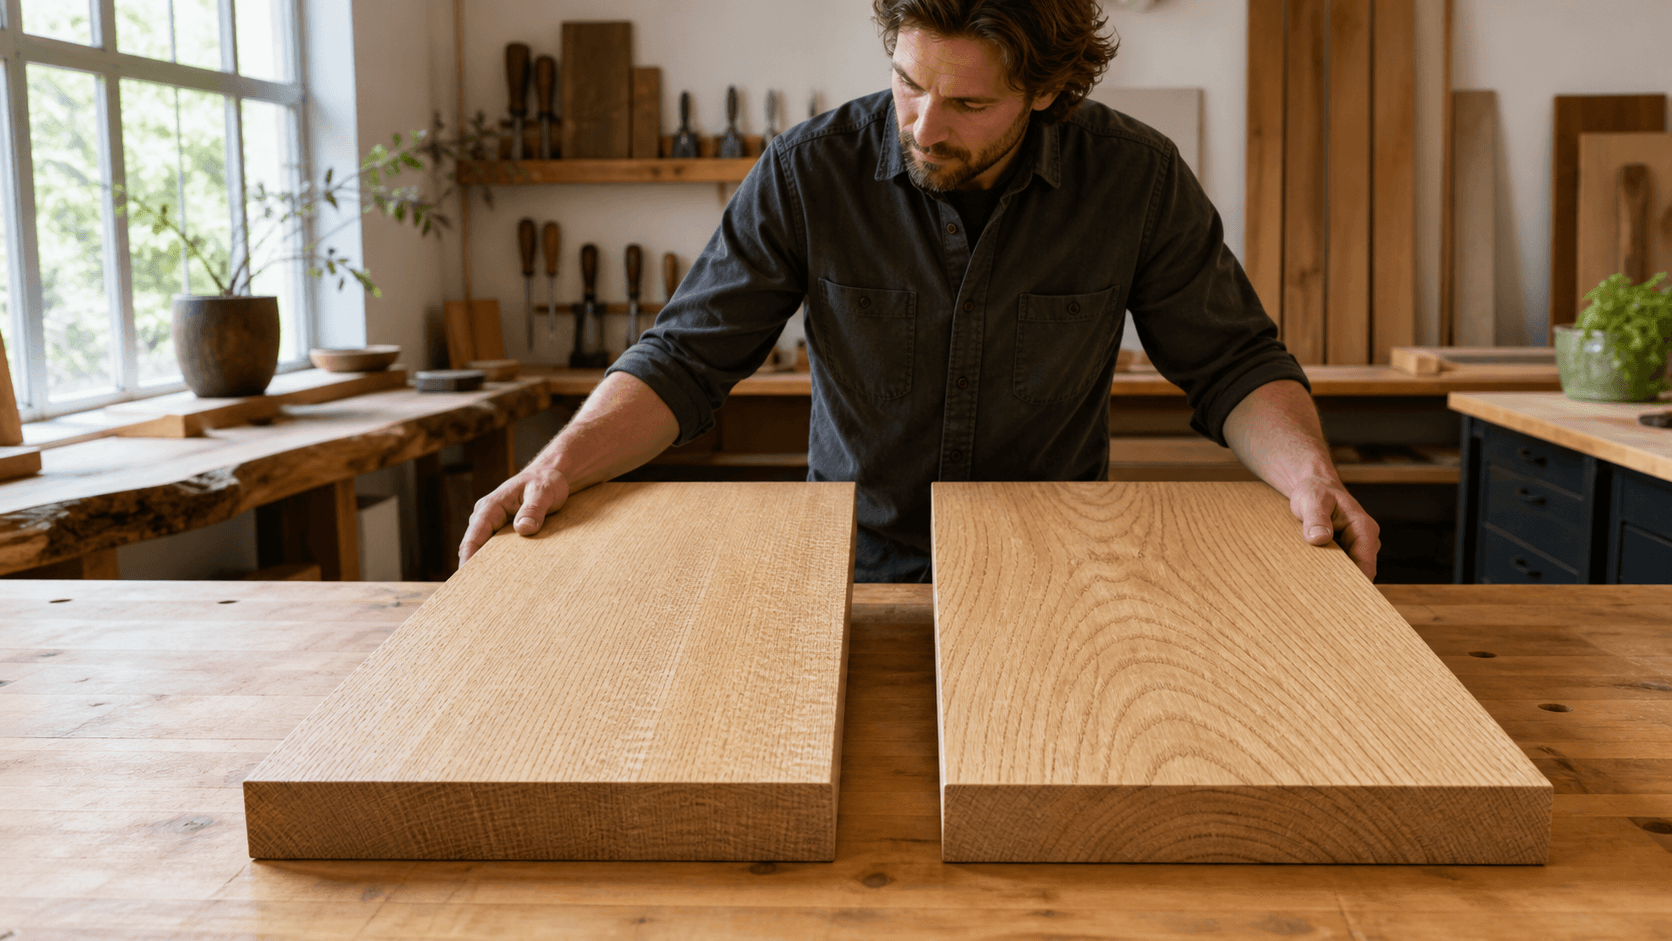
Material matters, too. Unlacquered brass brings warmth to rich walnut and light white oak, while still feeling clean in a more modern room. At The Mortise & The Hare, we solve the one-size-fits-all problem with made-to-order details and custom sizing options for shelves that deserve an intentional finish.
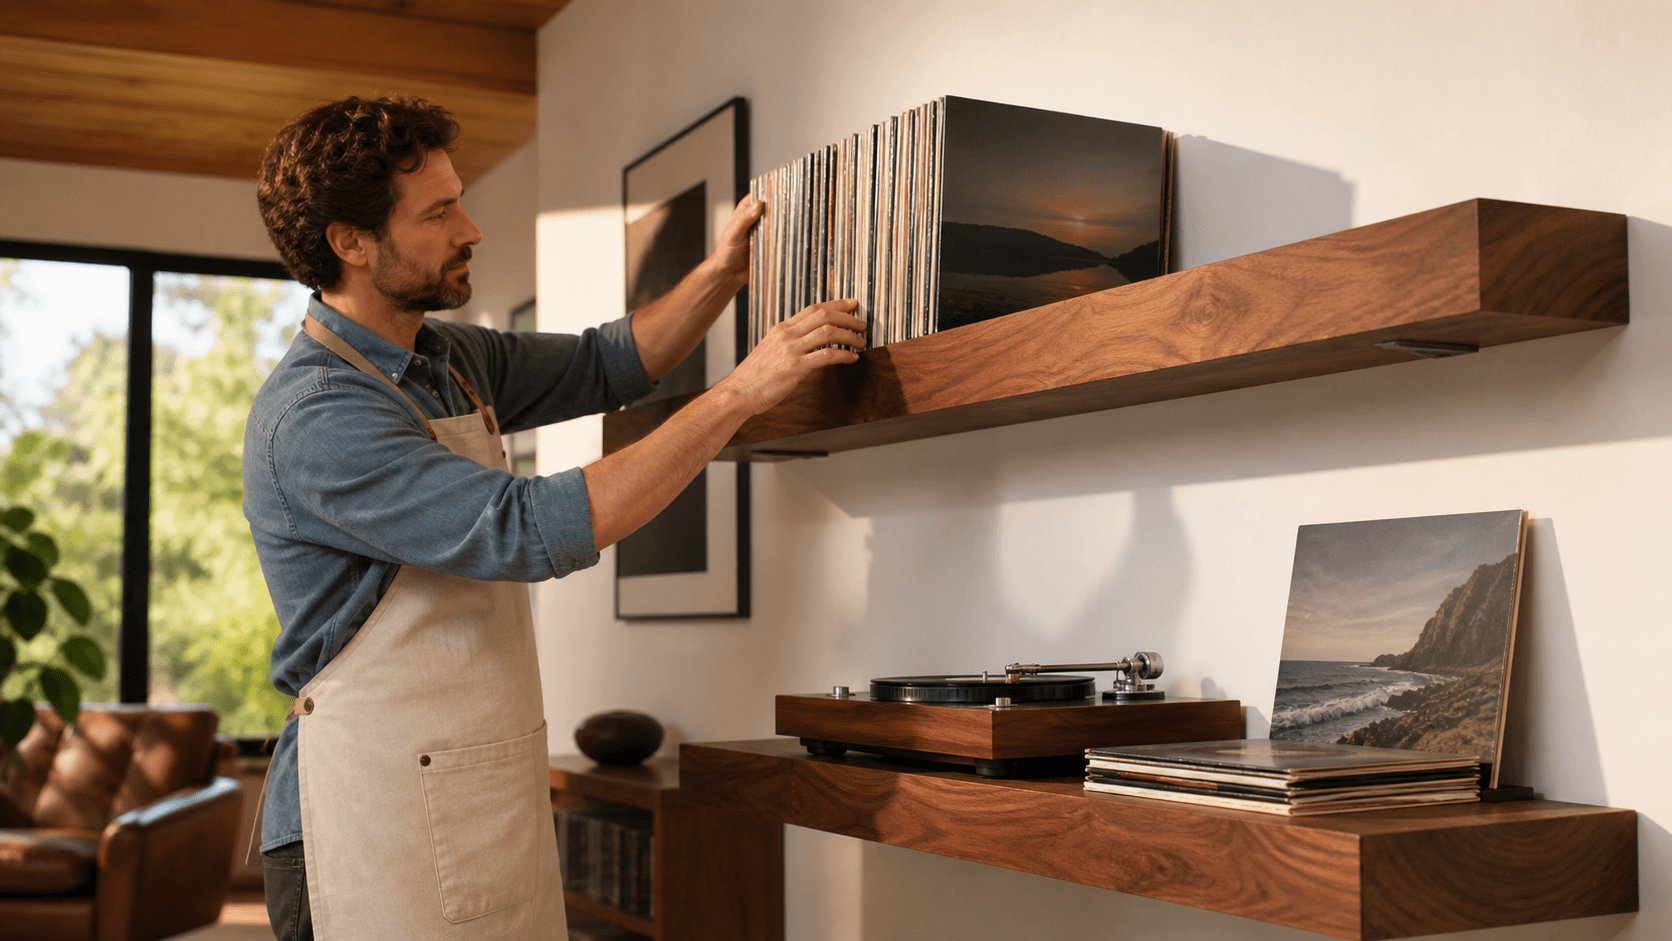
Before drilling, confirm that your existing shelf is securely mounted, drillable, and thick enough to accept the included hardware without breaking through the shelf face. For heavy dinnerware or book collections, we recommend considering made-to-order walnut floating shelves with high-capacity concealed mounting. Qualifying shelf systems can support up to 300 lbs and include our Level for Life guarantee.
Gather Tools and Map Your Rail Placement
A calm setup makes DIY gallery rail installation much easier. Start by reading the instructions included with your rail kit, then gather the tools and hardware specified for your shelf material. Avoid swapping screws without checking their length and compatibility.
Your basic setup should include:
- Brass gallery rail kit and its specified hardware
- Tape measure, pencil, painter's tape, and level
- Drill with the properly sized drill bit
- Screwdriver and safety glasses
Painter's tape is especially helpful during planning. Run it along the proposed rail path, then place a few real items on the shelf, such as books, framed photos, or serving pieces. This lets you see whether the rail height and setback feel useful before you drill.
Across a group of shelves, consistent rail placement creates a polished built-in look. We include detailed installation guides with all of our shelves, but we also recommend pausing if you discover hollow construction, veneer, damaged wood, or an unclear mounting condition. Those details can affect whether a rail can be installed safely and cleanly.
Complete Your DIY Gallery Rail Installation
Clear the shelf completely, wipe away dust, and recheck every measurement before making a hole. Careful layout is what helps a DIY gallery rail installation look custom rather than added on later.
Follow the rail kit instructions closely, using this general sequence:
- Measure the usable shelf width and mark the post locations.
- Apply painter's tape and mark the drill points.
- Confirm the planned rail line with a level.
- Pre-drill pilot holes according to the kit instructions.
- Secure the brass posts without overtightening them.
- Insert and secure the rail, then test its alignment and stability.
Once the rail is in place, style the shelf gradually. Start with larger books, plates, or serving pieces behind the rail. Leave enough room to comfortably lift items in and out, especially in a kitchen or bar area. The rail should feel supportive, not like an obstacle.
If your current shelves no longer meet your storage needs, made-to-order white oak floating shelves can be sized for an alcove, backsplash, or display wall. Our FAS-graded, sustainably sourced hardwoods and concealed mounting systems create a stronger foundation for shelves that need to work hard and look beautiful doing it. Professionals can also explore our trade program for project-specific support and made-to-order quality.
Style Rail-Protected Shelves for Fall Hosting
Late summer is a smart time to prepare shelves for fall entertaining, holiday meals, and seasonal decorating. A brass rail gives you more confidence when styling items that may otherwise creep toward the edge during a busy gathering.
In a dining room, try stacked dinnerware, a few cocktail books, candleholders, and a small framed photo. In the kitchen, a rail can help contain cookbooks, ceramic vessels, olive oil bottles, and favorite serving pieces. Entryway and living room shelves can hold small art objects, framed family photos, and collected finds with a little more security.
Unlacquered brass works well with traditional, transitional, European-inspired, and modern spaces because it does not stay frozen in one perfect finish. As its patina changes, it can make new shelves feel more lived-in and older shelves feel newly considered.
For the cleanest look, keep most objects below the rail height when possible. A few taller items can add variety, but shorter groupings help the rail do its job while keeping the display easy to use. Homeowners planning a full refresh may also appreciate gallery rail shelving designed as a complete shelf-and-rail pairing. Wood samples are available for those who want to feel before you buy, and first-time email subscribers can receive $25 off.
Add a Brass Rail with Confidence Today
The best gallery rail projects begin with a close look at the shelf you already have. Measure carefully, make sure the wood can accept hardware, follow the kit guide, and remember that the rail helps keep objects from sliding forward rather than increasing the shelf's weight capacity.
With thoughtful placement and a steady hand, a brass rail can turn a shelf that feels slightly risky into one that feels ready for daily use, seasonal styling, and the small moments that make a home feel lived in.
Build A Shelf Setup That Lasts
For a polished DIY gallery rail installation, browse our DIY gallery rail installation collection, made to order from sustainable FAS-graded hardwoods. At The Mortise & The Hare, our shelves offer custom dimensions, up to 300 lbs of capacity, detailed installation guides, and a Level for Life guarantee. For a tailored shelf depth, finish, or project specification, contact us for custom options.